Materials:
- Notebook (I use the Piccadilly Essential Large Notebook)
- Black Pen (I use the Rolling Ball Precise V5)
- Glue Stick
- Old Magazines
- Paint Chip Sample (or colored card stock)
- Colorful Envelope
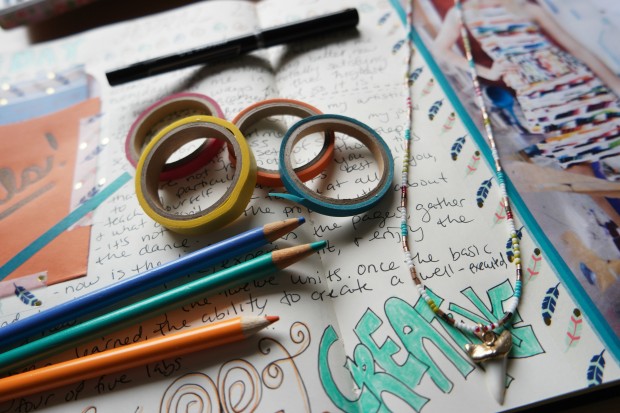
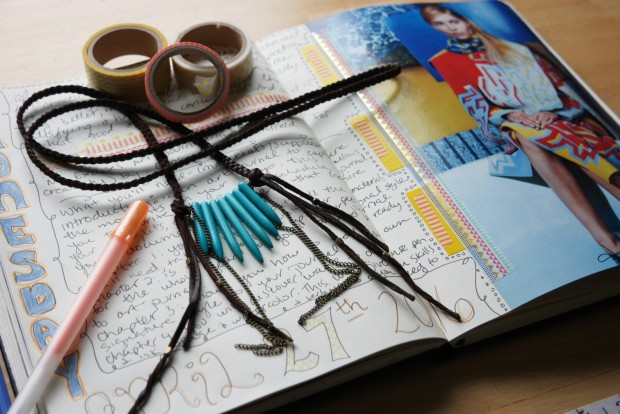
- Washi Tape
- Colored Pencils, Markers, and/or Gel Pens
- Black Permanent Marker
It’s creative journaling time! Get ready to set goals and write affirmations! If you didn’t read my previous journaling tutorial be sure to check it out! The style is similar and I go through the journaling process step-by-step.
Are you ready? Gather your supplies and lets begin!
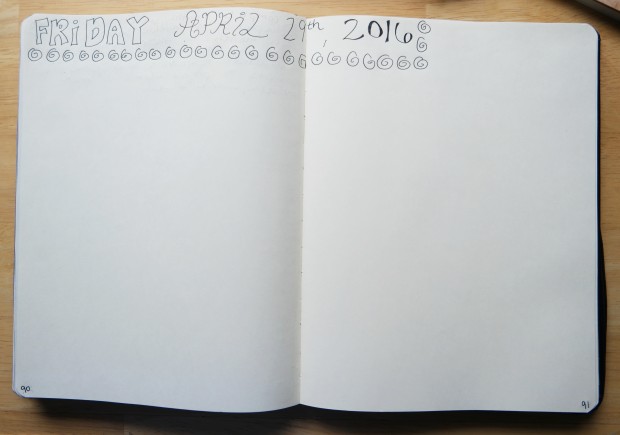
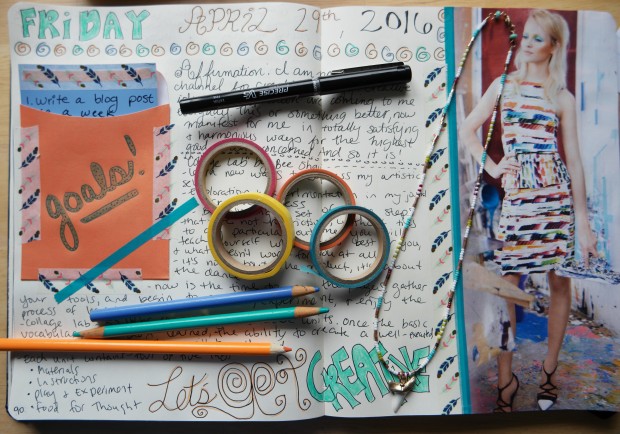
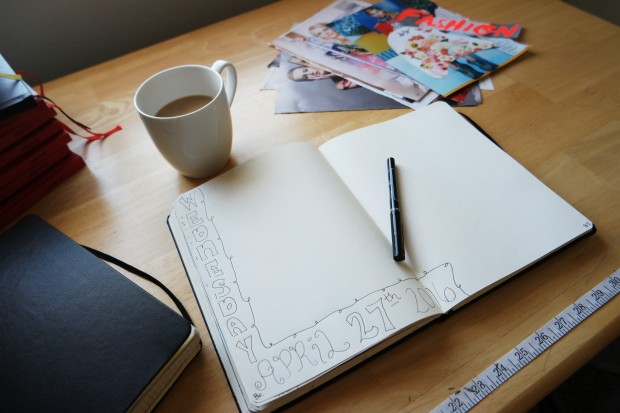
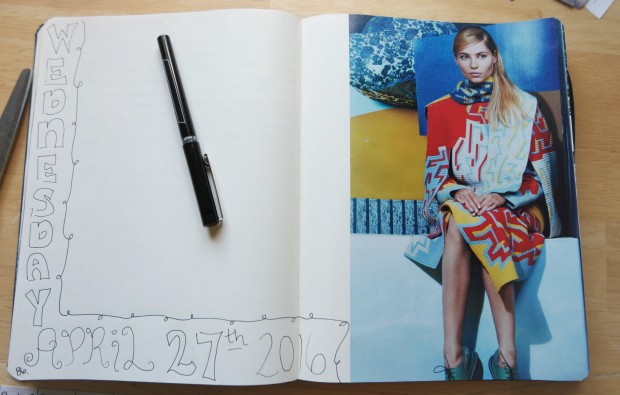
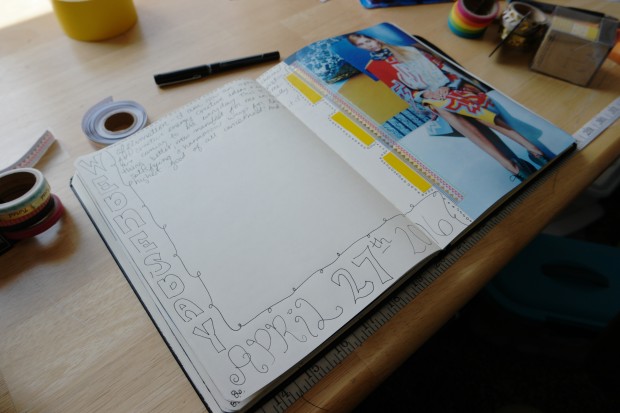
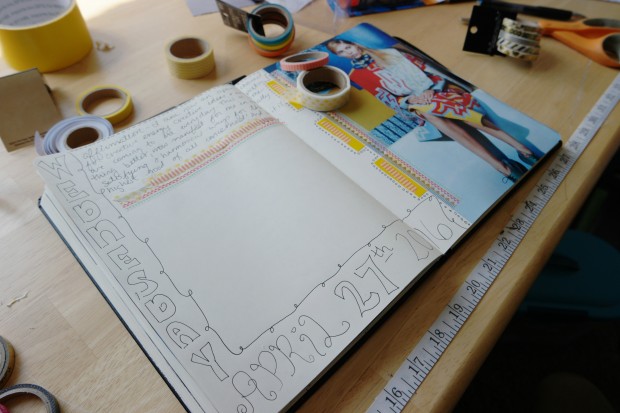
- Number your pages. Add the date. I always write the day, month, and year. Play with fonts! If you need help writing different font styles, check out DaFont.com (you can browse different fonts and type the words you want to preview), it’s pretty cool. Add a little doodle border around the date. I doodled curly q’s but you can doodle whatever your heart desires. Maybe dashes, mini triangles, or a bold straight line?

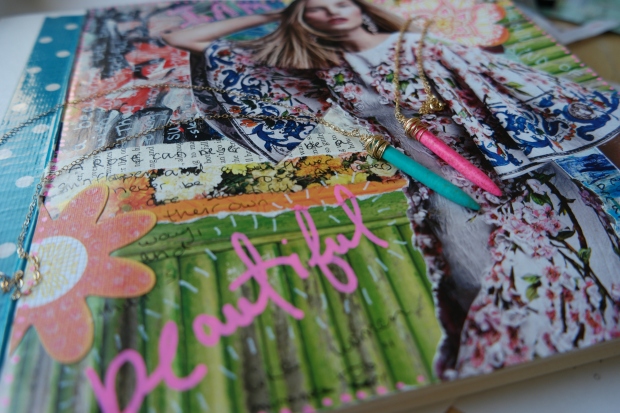
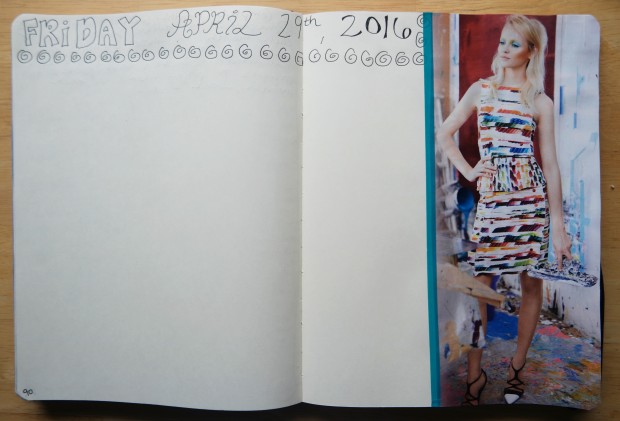
I like the fun colors and messy artist backdrop in this image.
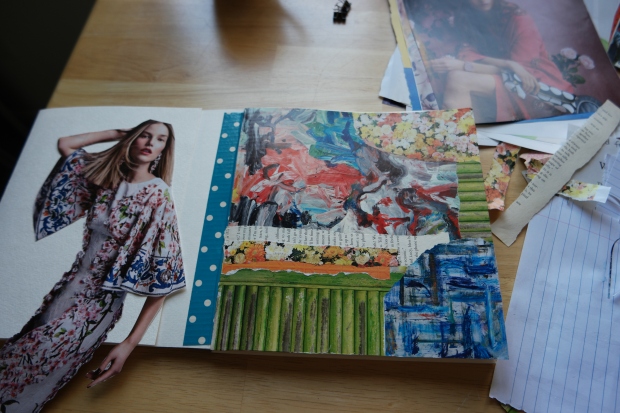
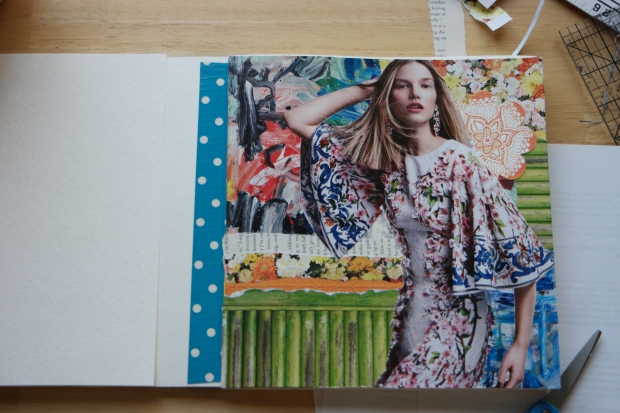
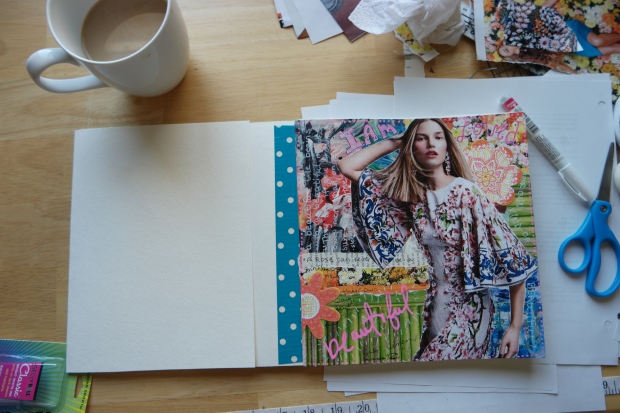
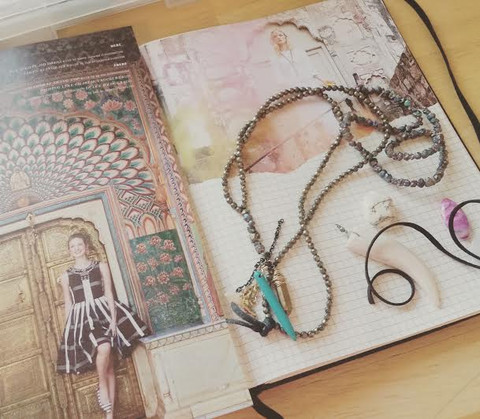
2. Next, look through old magazines. If you have a pile of magazine clippings start there! Find an appealing focal image. Once you pick your image, glue it down with a glue stick and cut the excess paper.
One of the great rewards of creative journaling is discovering a style that’s authentic and uniquely yours! You’ll slowly discover patterns and themes that reveal significant clues about your personality. I adore flowers, anything artistic, bold bright colors, females with blonde hair (probably because I am blonde), and sexy/edgy advertisements.
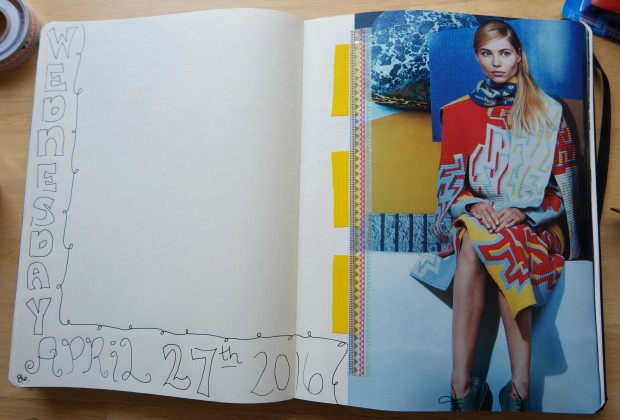
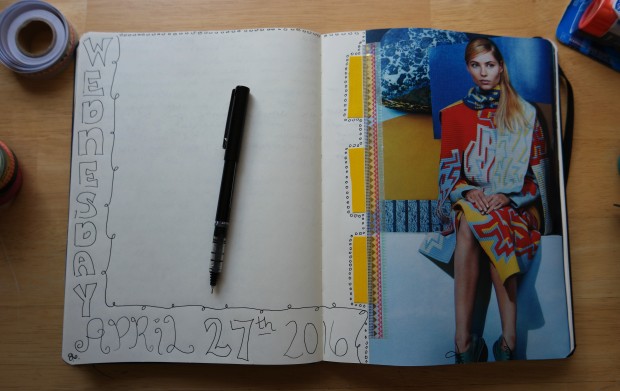
3. Add some Washi Tape along the edge of your image. I cut my image a little crooked and covered it with Washi Tape. 🙂
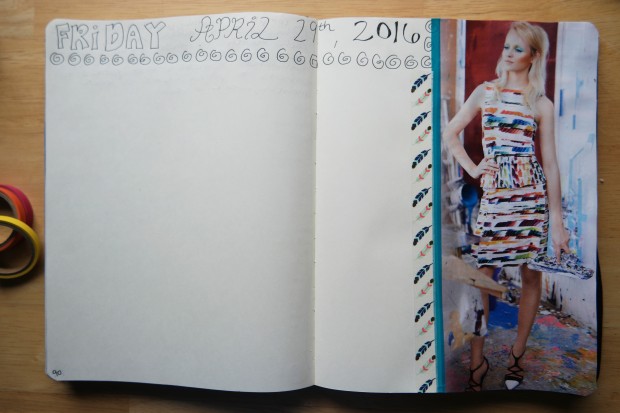
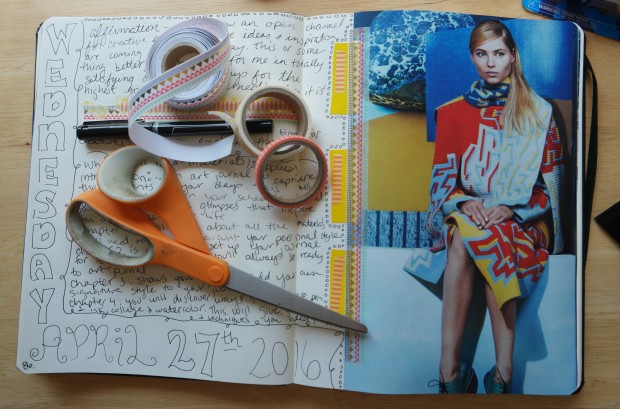
I’m OBSESSED with Washi Tape! It’s so versatile and easy to use.
4. Add more Washi Tape! Layer different colors, widths, and patterns on top of each other. It will add depth and richness to your page. Washi Tape is transparent (so, if you layer yellow and blue together, you’ll get a cool green!)
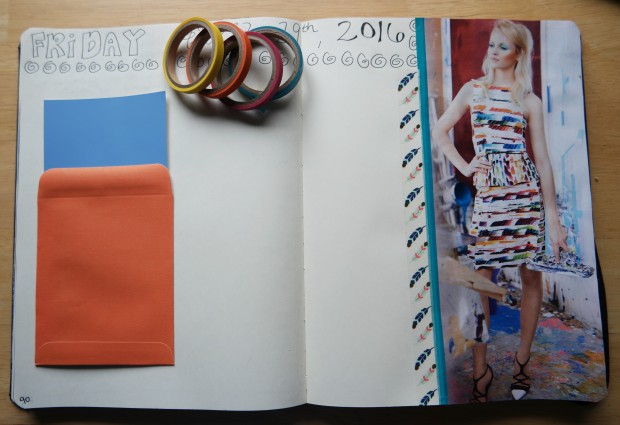
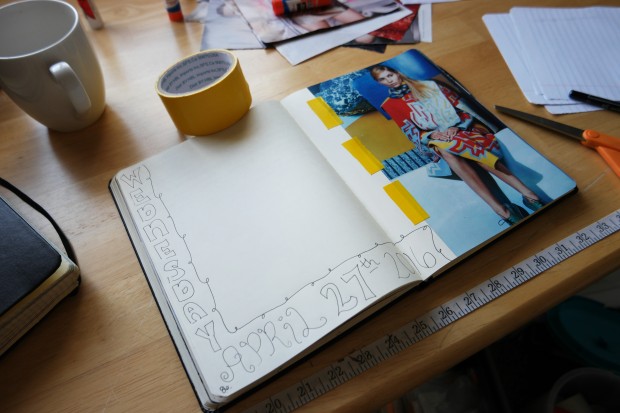
4. Grab a colorful envelope and paint chip sample (you can find these at Walmart, Home Depot, Lowes, etc. in the painting section–they are free! YaY!) that fits inside the envelope. If you don’t have any paint chip samples, use scrapbook paper or colored card stock and cut to size. The cute little orange envelope I used is a couple years old and it’s from an old ephemera stash–I believe it’s from the Dollar Tree. Use what you have or make your own decorative envelopes!
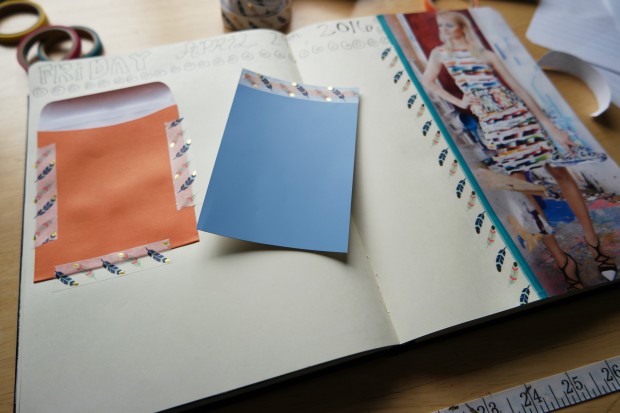
5. Add Washi Tape to your paint chip card. I chose orange Washi Tape to cover the paint name and layered the decorative feather Washi Tape on top. Next, glue your envelope down to your page using a glue stick. Add Washi Tape around the edges of the envelope.
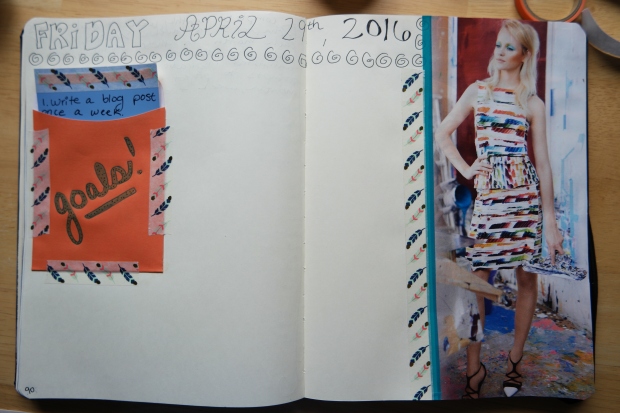
I wrote five goals I’d like to accomplish in the month of May.
6. Let’s start this page off right and jot down some goals. Who doesn’t love goal-setting and daydreaming of their future? On the paint chip sample, use a permanent marker to write your goals.
Maybe you’re eager to work out but haven’t started? Or you want to learn a new skill but don’t know how to start? Or you want to eat healthy but keep eating Doritos? Try listing your weekly, monthly, or yearly goals on separate cards instead. Whatever it is. Get it down on paper! Be specific and add details. You can focus on one major goal too. Perhaps, write it on the front and the action steps on the back of the card?

7. Write an affirmation on an area of your life you’d like to focus on and improve. Maybe an affirmation to help with one of your goals? If affirmations aren’t your thing than write a gratitude list or your favorite quote. Have fun with it! Get creative with markers or gel pens.
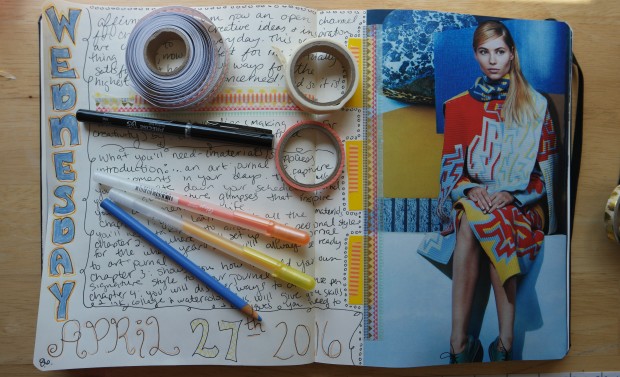
I read “Creative Visualization” by Shakti Gawain to help write better affirmations–it’s one of my favorite books on visualizing your goals and positive thinking. The affirmation that I wrote is aimed towards my business and blog. It’s the same one I’ve used over the past month or two. I love this affirmation and will continue to use it until I move onto something else.
My Creative Affirmation: “I am now an open channel for creative energy. Creative ideas & inspiration are coming to me every day. This or something better now manifest for me in totally satisfying and harmonious ways for the highest good of all concerned. And so it is!”
I’ve noticed changes in the last few months after writing this affirmation over and over. I believe it’s really helping me get things done and have clarity. A lot of things that were difficult before seem so much more easier now. I’m actually blogging regularly and writing blog posts with ease! YaY! That was a huge challenge before–all these ideas, not knowing where to begin, and feeling scattered. Ugh. Maybe you can relate?
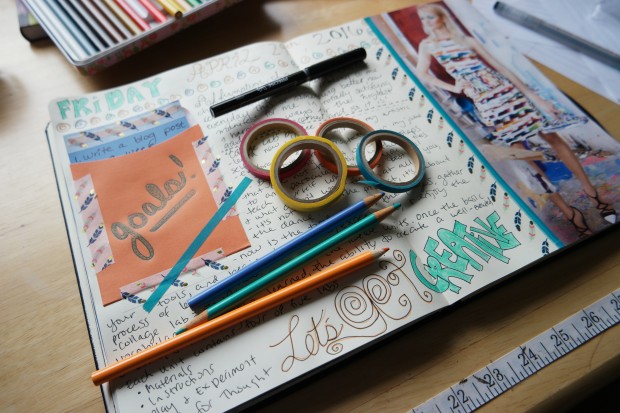
8. Fill your page with all your hopes and dreams! Add a little color and pizzazz. I added a little more Washi Tape, doodled and used colored pencils to finish the date.
Enjoy the process and don’t worry about creating a master piece. Creative journaling is a rich journey of discovery, wonder, adventure, and excitement.
I hope you enjoy this tutorial and feel a creative spark inside. Please share your beautiful pages with me!